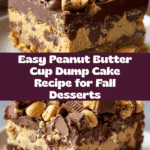
Peanut Butter Cup Dump Cake Recipe
If you’re a fan of rich, gooey desserts that come together with almost zero fuss, you absolutely need to try this Peanut Butter Cup Dump Cake. Imagine layers of creamy peanut butter, melted chocolate, and sweet cake mix baking up into a warm, irresistible treat that makes your kitchen smell like a candy shop. The Peanut Butter Cup Dump Cake is like a magic dessert trick where you just dump the ingredients in the dish and let the oven do all the work, resulting in a crowd-pleaser that’s perfect for any occasion, from casual family dinners to special celebrations.
Ingredients You’ll Need
Gathering the right ingredients for this recipe is super simple, yet each one plays a crucial role in building those iconic layers of flavor and texture. From the creamy peanut butter to the sweetened condensed milk and the crunchy chocolate chips, every element adds something special that makes the Peanut Butter Cup Dump Cake unforgettable.
- Yellow cake mix: Provides the sweet, fluffy cake layer that crisps up beautifully on top.
- Creamy peanut butter: Adds rich, nutty creaminess that blends perfectly with the chocolate.
- Sweetened condensed milk: Ensures a luscious, gooey finish that keeps the cake moist.
- Mini peanut butter cups, chopped: Introduce bursts of chocolatey peanut butter goodness throughout the cake.
- Chocolate chips: Give pockets of melted, chocolate bliss in every bite.
- Butter, melted: Helps create that crisp, golden top and adds a buttery richness.
- Chopped Reese’s or other peanut butter candies: Used as a topping for added texture and extra peanut butter flavor.
- Chocolate syrup (optional): For drizzling on top to amp up that chocolate decadence.
How to Make Peanut Butter Cup Dump Cake
Step 1: Prep Your Baking Dish
Start by preheating your oven to 350°F (175°C) and lightly greasing a 9×13-inch baking dish. This step ensures your cake won’t stick and sets the stage for everything to bake evenly.
Step 2: Layer the Chocolate and Candy
Scatter the chopped mini peanut butter cups and chocolate chips evenly across the bottom of your baking dish. This candy-packed base is what makes every slice so indulgent, giving pockets of sweet, melty chocolate and peanut butter in every bite.
Step 3: Add the Sweetened Condensed Milk
Drizzle the entire can of sweetened condensed milk over your candy layer. This will keep the cake moist and gooey as it bakes, infusing sweetness that binds all the flavors together.
Step 4: Dollop the Peanut Butter
Put dollops of creamy peanut butter randomly over the condensed milk. As the cake bakes, the peanut butter melts into velvety ribbons that contrast beautifully with the other textures and flavors.
Step 5: Sprinkle the Cake Mix
Evenly sprinkle the yellow cake mix over the top—don’t stir! The cake mix forms the fluffy, cakey topping that crowns your peanut butter and chocolate layers perfectly.
Step 6: Pour the Melted Butter
Drizzle the melted butter evenly across the cake mix. This step helps the cake to develop that golden, crispy top layer that everyone loves.
Step 7: Bake Until Golden and Bubbling
Bake your dump cake for 40 to 45 minutes or until the top is golden brown and you see bubbling along the edges. The aromas filling your kitchen now are just a delicious preview of what’s to come!
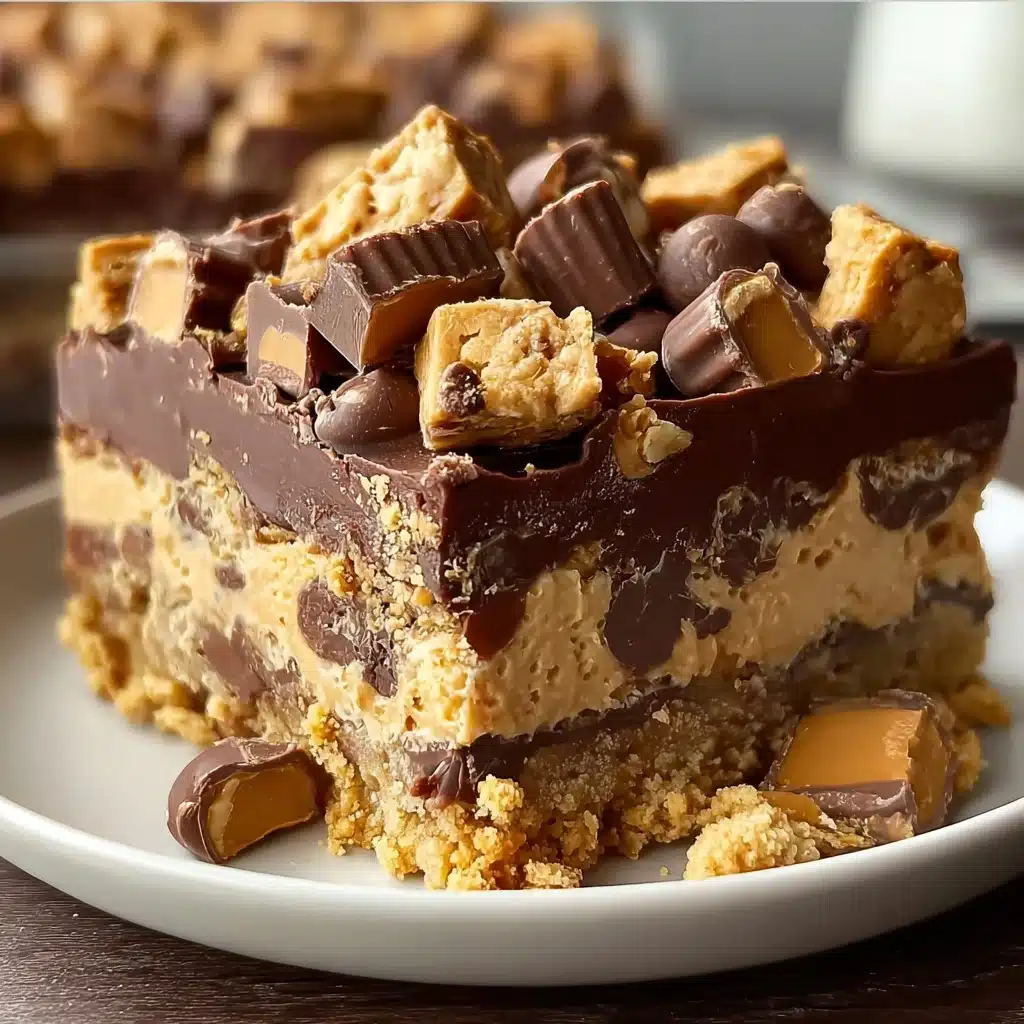
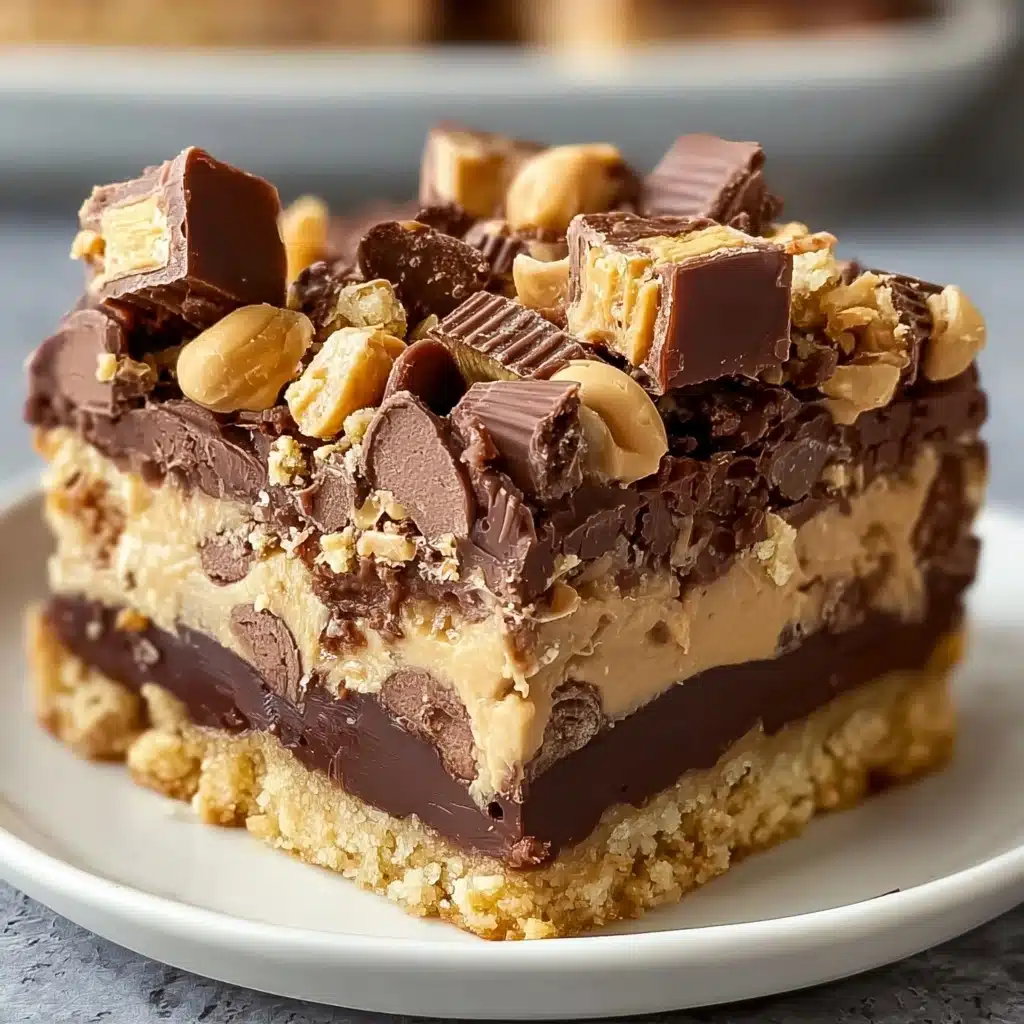
Step 8: Add the Finishing Touches
Let your cake cool slightly, then sprinkle additional chopped peanut butter candies on top and drizzle with chocolate syrup if you want an extra layer of chocolate goodness. This step makes your Peanut Butter Cup Dump Cake look as amazing as it tastes.
How to Serve Peanut Butter Cup Dump Cake
Garnishes
Nothing beats serving this cake with a dollop of whipped cream or a scoop of vanilla ice cream. The cold creaminess balances the rich, warm cake perfectly. A light sprinkle of crushed peanuts or a drizzle of extra chocolate syrup can also elevate the presentation.
Side Dishes
Serve alongside fresh fruit like strawberries or banana slices to cut through the richness and add a refreshing contrast. For grown-up gatherings, a simple cup of coffee or milk pairs wonderfully to complement the decadent Peanut Butter Cup Dump Cake.
Creative Ways to Present
Try serving the cake in individual ramekins or clear glasses to showcase the gooey layers. You can also make mini versions using muffin tins for a fun party dessert that’s easy to share. Either way, the Peanut Butter Cup Dump Cake always steals the show.
Make Ahead and Storage
Storing Leftovers
Once cooled, cover your cake tightly with plastic wrap or foil and store it in the refrigerator. It will keep well for up to four days and remain just as delicious because the flavors continue to meld beautifully overnight.
Freezing
If you want to save some for later, wrap individual slices in plastic wrap and foil before placing them in a freezer-safe container. Frozen, the cake holds up well for up to two months, perfect for those times when you need a quick, sweet indulgence.
Reheating
To warm the cake, pop a slice in the microwave for 15 to 20 seconds, just until it’s cozy and soft but not too hot. This brings back that freshly baked texture and flavor, making your Peanut Butter Cup Dump Cake taste like it just came out of the oven.
FAQs
Can I swap the yellow cake mix for chocolate?
Absolutely! Using a chocolate cake mix will deepen the dessert’s flavor and make it extra rich, perfect for hardcore chocolate lovers who want a twist on the classic Peanut Butter Cup Dump Cake.
What if I’m allergic to peanuts?
If peanuts are off-limits, try substituting with almond butter and replacing peanut butter cups with your favorite nut-free chocolate candies. Just expect a different flavor profile, but the cake will still be delicious!
Can I use crunchy peanut butter instead of creamy?
Yes, though creamy peanut butter blends more smoothly with the cake’s texture. Crunchy peanut butter will add a bit more bite and nutty crunch, which some people love for a little extra texture.
Do I need to refrigerate the cake?
Because this cake includes sweetened condensed milk and peanut butter, it’s best stored in the fridge to keep it fresh and prevent any spoilage, especially if you’re not serving it right away.
Is this cake very sweet?
Yes, the Peanut Butter Cup Dump Cake is definitely on the sweeter side, but balancing it with a scoop of vanilla ice cream or fresh fruit helps to temper the sweetness and make every bite perfect.
Final Thoughts
This Peanut Butter Cup Dump Cake is pure joy in dessert form—easy to make, impossibly good, and perfect for when you want to impress without stress. Whether you’re making it for family, friends, or just because you deserve a treat, this recipe will quickly become a go-to favorite. Give it a try and watch everyone swoon with each warm, peanut buttery bite!
PrintPeanut Butter Cup Dump Cake Recipe

This Peanut Butter Cup Dump Cake is an indulgent, no-fuss dessert featuring layers of creamy peanut butter, sweetened condensed milk, chocolate chips, and chopped peanut butter candies all topped with yellow cake mix and baked to golden perfection. It’s a perfect cake for peanut butter lovers that comes together with minimal effort, delivering a rich, gooey, and chocolatey treat every time.
- Prep Time: 10 minutes
- Cook Time: 45 minutes
- Total Time: 55 minutes
- Yield: 12 servings 1x
- Category: Dessert
- Method: Baking
- Cuisine: American
- Diet: Vegetarian
Ingredients
Main Ingredients
- 1 box yellow cake mix
- 1 cup creamy peanut butter
- 1 can (14 oz) sweetened condensed milk
- 1 cup mini peanut butter cups, chopped
- 1 cup chocolate chips
- ½ cup butter, melted
- 1 cup chopped Reese’s or other peanut butter candies
Optional Toppings
- Chocolate syrup (optional, for drizzling)
Instructions
- Preheat and Prepare: Preheat your oven to 350°F (175°C). Lightly grease a 9×13-inch baking dish to prevent sticking.
- Layer Candies: Evenly scatter the chopped mini peanut butter cups and chocolate chips across the bottom of the prepared baking dish to form the first flavorful layer.
- Add Sweetened Condensed Milk: Drizzle the entire can of sweetened condensed milk evenly over the candy layer to add sweetness and moisture.
- Dot Peanut Butter: Place spoonfuls of creamy peanut butter evenly throughout the dish, spreading dollops without mixing to keep pockets of peanut butter flavor.
- Top with Cake Mix: Sprinkle the yellow cake mix evenly across the top of the dish without stirring, ensuring the dry ingredients cover all fillings.
- Pour Melted Butter: Drizzle the melted butter evenly over the dry cake mix layer to ensure moistness and a golden crust during baking.
- Bake: Place the baking dish in the oven and bake for 40 to 45 minutes until the top is golden brown and bubbling, signaling the cake is cooked through and the flavors have melded.
- Cool and Garnish: Allow the cake to cool slightly to set. Then top with extra chopped peanut butter candies for added texture and drizzle with chocolate syrup if desired for an extra touch of sweetness.
Notes
- You can substitute the yellow cake mix with chocolate cake mix for a richer chocolate flavor.
- Adding white chocolate chips provides a sweeter, contrasting flavor to the peanut butter and chocolate.
- Incorporate crushed pretzels on top before baking for a delightful salty crunch.
- Store any leftovers in the refrigerator for up to 4 days to maintain freshness.
- Reheat individual slices in the microwave for 15 to 20 seconds for the best warm, gooey texture before serving.
Nutrition
- Serving Size: 1 slice (approx. 1/12 of cake)
- Calories: 420
- Sugar: 36g
- Sodium: 280mg
- Fat: 22g
- Saturated Fat: 9g
- Unsaturated Fat: 11g
- Trans Fat: 0g
- Carbohydrates: 50g
- Fiber: 2g
- Protein: 6g
- Cholesterol: 25mg
Keywords: Peanut Butter Cup Dump Cake, Easy Dessert, No Bake Cake Mix Recipe, Chocolate Peanut Butter Dessert, Quick Dessert, Party Cake